
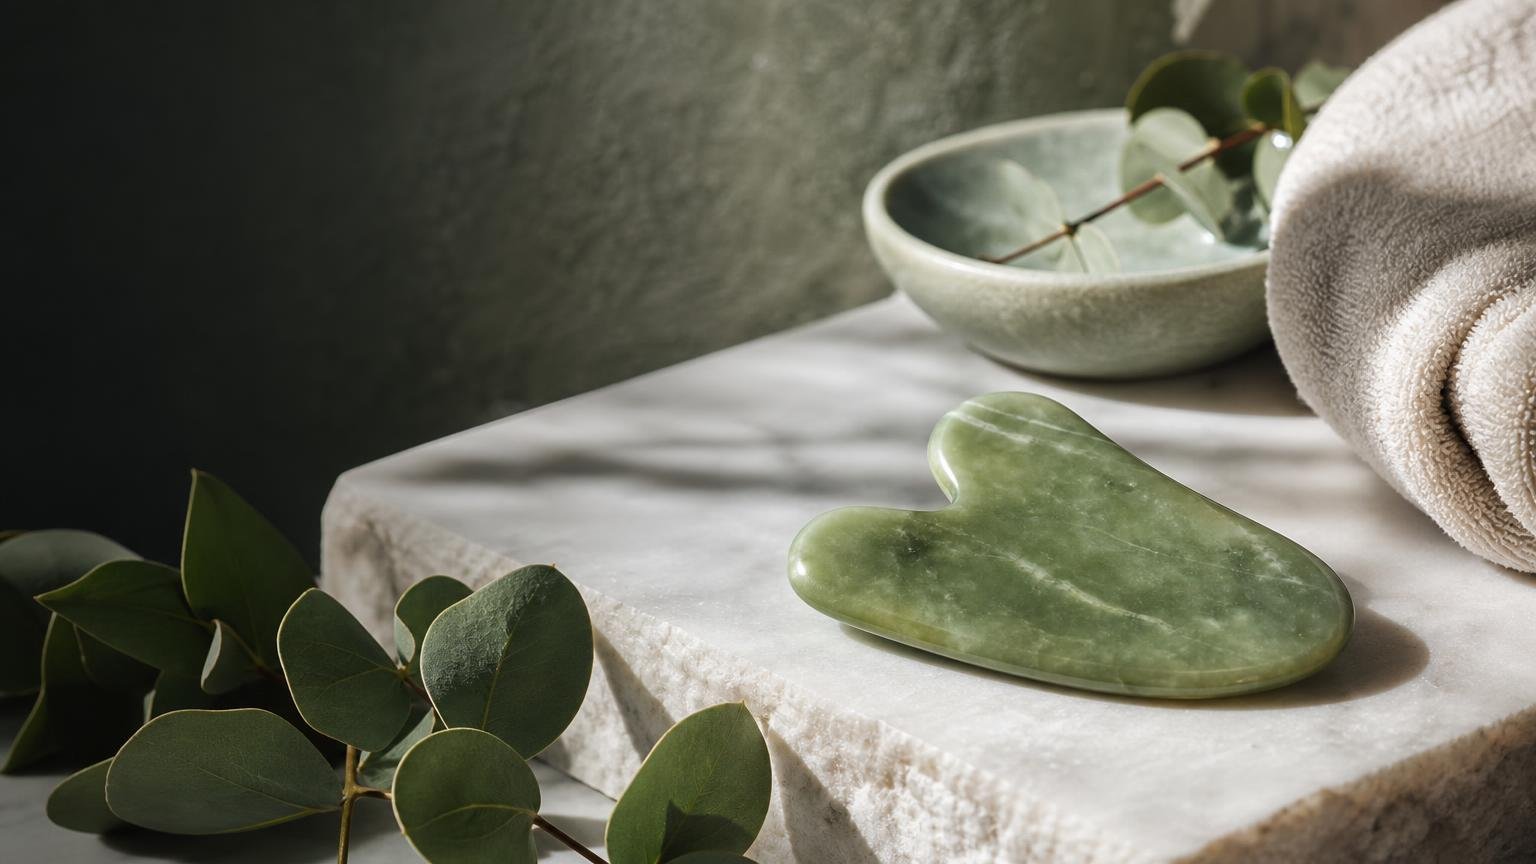
Facial gua sha should feel controlled, not punishing.
A cheek that remains bright red, sore, or bruised after scraping has not received a more effective massage. It has been irritated. Mild, short-lived flushing can occur with friction, but marked redness, pain, and broken capillaries are reasons to stop, not evidence that the technique is working.
Most problems are preventable. Excess pressure and repeated passes increase friction, while too little facial oil or moisturizer prevents the tool from moving smoothly. An unwashed stone can transfer oil, makeup, and microorganisms back onto the skin. Reactive skin requires fewer passes, lighter contact, and longer intervals between sessions. The practical standard is simple: cleanse the face and tool, apply enough slip, keep the angle low, and use slow strokes without pressing hard. If irritation persists or the skin bruises easily, gua sha may not be appropriate without guidance from a dermatologist.
How to use a gua sha safely comes down to slip, angle, pressure, and pass count, in that order.
What gua sha can—and cannot—change
Gua sha may briefly reduce the appearance of puffiness. Gentle massage can shift superficial fluid, while increased circulation may create temporary color and contour changes. These effects are likely to fade rather than accumulate into structural changes.
There is no credible evidence that a facial tool permanently reshapes bone, removes facial fat, or produces a lasting lift. A premium stone marketed around those promises is not worth the added cost. Smooth edges, a comfortable shape, and easy cleaning matter more than the type of crystal.
Cosmetic research on facial gua sha remains limited, with small studies and little long-term evidence. That makes technique more relevant than dramatic marketing claims: adequate slip, light pressure, and fewer passes reduce friction. Session length should follow individual skin tolerance, not a fixed routine promoted on social media.
Check whether the skin is ready
-
Inspect the skin barrier
Postpone the session if skin is sunburned, cracked, peeling, bleeding, infected, or unusually reactive. Gua sha should not pass over open wounds or active rashes.
-
Look for active inflammation
Avoid raised, painful acne lesions and areas affected by an eczema or rosacea flare. Friction and warmth may also deepen visible discoloration in melasma-prone skin.
-
Account for procedures and injectables
After lasers, peels, microneedling, surgery, fillers, or neuromodulator injections, follow the treating professional’s timeline. Generic waiting periods are unreliable because procedure depth and placement differ.
-
Consider bruising risk
Anyone taking blood-thinning medication or managing a bleeding disorder should ask a clinician whether facial massage is appropriate.
-
Pause for unexplained symptoms
New swelling, warmth, marked tenderness, or one-sided facial changes warrant professional assessment rather than massage.
For acne, eczema, rosacea, melasma, or persistent sensitivity, consult a dermatologist before using gua sha.
Skin can look normal while remaining sensitive after a procedure or flare. If light fingertip pressure causes stinging, pain, or prolonged redness, postpone gua sha until the skin feels comfortable and the barrier appears intact.
Choose a tool that minimizes friction
- Surface and edges
A uniformly polished, sealed face should glide without catching. Rounded edges reduce concentrated pressure.
Look forSmooth finish with no chips or seamsAvoidSharp corners, pits, or rough engraving - Shape and grip
A secure grip helps control pressure. Broad curves are more useful on cheeks and jaw than narrow decorative points.
Look forComfortable width and shallow facial contoursAvoidSlippery shapes and aggressive notches - Material
Stainless steel is durable and nonporous. Stone may break or contain fissures; resin resists breakage but can scratch, and quality varies.
Look forIntact, smoothly finished, stable materialAvoidCracked stone or scratched resin - Cleaning
Simple shapes are easier to wash thoroughly. Deep grooves and mounted decorations can retain oil and residue.
Look forWashable surfaces without inaccessible gapsAvoidCrevices, glued ornaments, or porous finishes
Claims about crystal energy or mineral-specific effects lack adequate support. A stone tool is not worth a premium when the added cost reflects crystal lore rather than smoother finishing, safer edges, or better durability.
Prepare the skin, hands, and tool
- Wash and dry the hands. Clean the face with a gentle cleanser. Apply enough compatible facial oil or serum to create slip; bare or tacky skin increases friction.
- Inspect the tool under good light. Retire it if the surface has chips, cracks, or rough seams. Damaged edges concentrate pressure and may scratch the skin.
- Clean according to the material. Mild soap and lukewarm water suit many nonporous stone, stainless-steel, and resin tools, but manufacturer instructions take priority. Soaking may damage porous materials, coatings, or bonded components.
- Dry completely before storage. Pat with a clean, lint-free cloth, then air-dry. Damp cases may support microbial growth. Shared tools can transfer oil and microorganisms, so cleaning between users is essential; avoiding shared facial tools is more cautious.
Chilling is optional. Cool stone or metal may feel soothing and briefly reduce visible puffiness, but it does not improve technique. Extreme cold may irritate sensitive skin.
Choose the right slip
Slip should be judged by drag, not product category. The tool should move without skipping or pulling. Water and fast-absorbing serums often become tacky before a pass is complete.
- Dry skin: A bland cream or simple facial oil generally provides longer-lasting slip. Add product rather than pressure.
- Oily skin: A lightweight, fragrance-free gel-cream may feel less occlusive. Reapply if it begins to dry.
- Acne-prone skin: Consider a familiar moisturizer labeled non-comedogenic, although that label cannot predict every breakout. Avoid massaging inflamed lesions.
- Reactive skin: Favor a short ingredient list without fragrance or essential oils. Stop with burning, itching, or persistent redness.
Anyone managing acne, eczema, or rosacea should ask a dermatologist whether facial massage is appropriate.
Do not pair a first gua sha session with a new leave-on product or potent active, including retinoids, AHAs, BHAs, vitamin C, or benzoyl peroxide. Patch-test new actives as directed, then introduce massage on a separate day. Otherwise, the source of irritation is difficult to identify.
Keep the tool low and pressure light
Hold the broad face of the tool almost parallel to the skin, at roughly a 10–15 degree angle. A visibly upright tool concentrates force along its edge and is more likely to scrape or catch. The tool should appear to skim the surface rather than dig beneath it.
Use the opposite hand to anchor the skin lightly near the starting point. This prevents loose skin from gathering without stretching it taut. Move the tool slowly in one controlled pass, using only enough downward force to maintain contact.
A well-lubricated, low-pressure pass should feel smooth and quiet. The skin should stay relatively flat ahead of the tool. Mild, brief flushing can occur, but pressure should be reduced or the pass stopped when any of these signs appear:
- Skin bunches into a visible ridge
- The tool skips, chatters, or drags
- Skin turns pale under pressure, then rebounds red
- Warmth, stinging, or tenderness increases with each pass
- The narrow edge presses vertically into the skin
Over cheekbones, the jaw, and other firm contours, use less force rather than pressing the tool into bone. If glide deteriorates, add lubricant or end the session; extra pressure does not compensate for insufficient slip.
Use a short center-to-outward sequence
-
Start at the jaw
Place the tool near the center of the chin. Glide toward the ear two or three times per side, using light pressure and a low angle.
-
Move across the cheeks
Begin beside the nose and travel toward the ear. Use two or three passes rather than repeatedly working the same skin.
-
Finish at the forehead
Glide from the center of the forehead toward the temple. Stop if the skin bunches, feels sore, or remains markedly red.
-
Treat the under-eye area as optional
This thin skin needs especially light pressure and ample slip. A fingertip may provide better control than a rigid tool; skipping the area sacrifices little.
-
Avoid vulnerable areas
Do not pass over broken skin, inflamed lesions, bruises, sunburn, or recent procedure sites. Keep the tool off the mobile eyelid and away from direct pressure on the eye.
One brief round is sufficient. More strokes add friction without established evidence of better results.
No proprietary gua sha sequence has established superiority in comparative research. Elaborate maps often reflect brand instruction rather than evidence. Consistent lubrication, low pressure, and limited repetition matter more than following a branded pattern.
Finish gently and monitor the skin
After the final pass, blot or rinse away excess oil rather than scrubbing it off. A thick residue can feel occlusive and may transfer to hair, clothing, or bedding. Follow with a bland, fragrance-free moisturizer if the skin feels dry or tight. During the day, apply broad-spectrum SPF 30 or higher; sunscreen matters more than adding another specialized post-massage product.
Wash the tool after every session with mild soap and lukewarm water, following the manufacturer’s care instructions. Dry it completely before storage. Chips and rough edges create avoidable friction, so a damaged tool should be replaced rather than polished against the face.
Start with short, infrequent sessions. Duration and frequency should increase only when the skin remains comfortable during the session and returns to baseline soon afterward.
Stop if massage causes persistent redness, burning, swelling, bruising, pain, or newly visible broken capillaries. These signs are not evidence that the technique is working. Allow the skin to settle before reconsidering use; persistent or concerning symptoms warrant assessment by a dermatologist.
- Calm baseline Begin only when skin is comfortable, intact, and free of marked redness.
- Clean contact Wash hands and tool, then use enough simple lubricant to prevent skipping or drag.
- Controlled technique Hold the tool nearly flat, apply light pressure, and cap each path at two or three passes.
- Stop signals Stop at dragging, pain, persistent redness, blanching, or soreness. These indicate excess friction or force.
Technique carries most of the risk here. Gua sha vs. jade roller covers which tool suits which hand, and why a cleansing brush can irritate skin lists the warning signs that apply to any device used on the face.
A polished, washable tool with a controllable edge is a more defensible purchase than a premium crystal backed by sculpting claims. Before each session, check skin condition, sanitation, slip, angle, pressure, and pass count. If the tool does not glide easily, add lubricant or end the session rather than pressing harder.
