
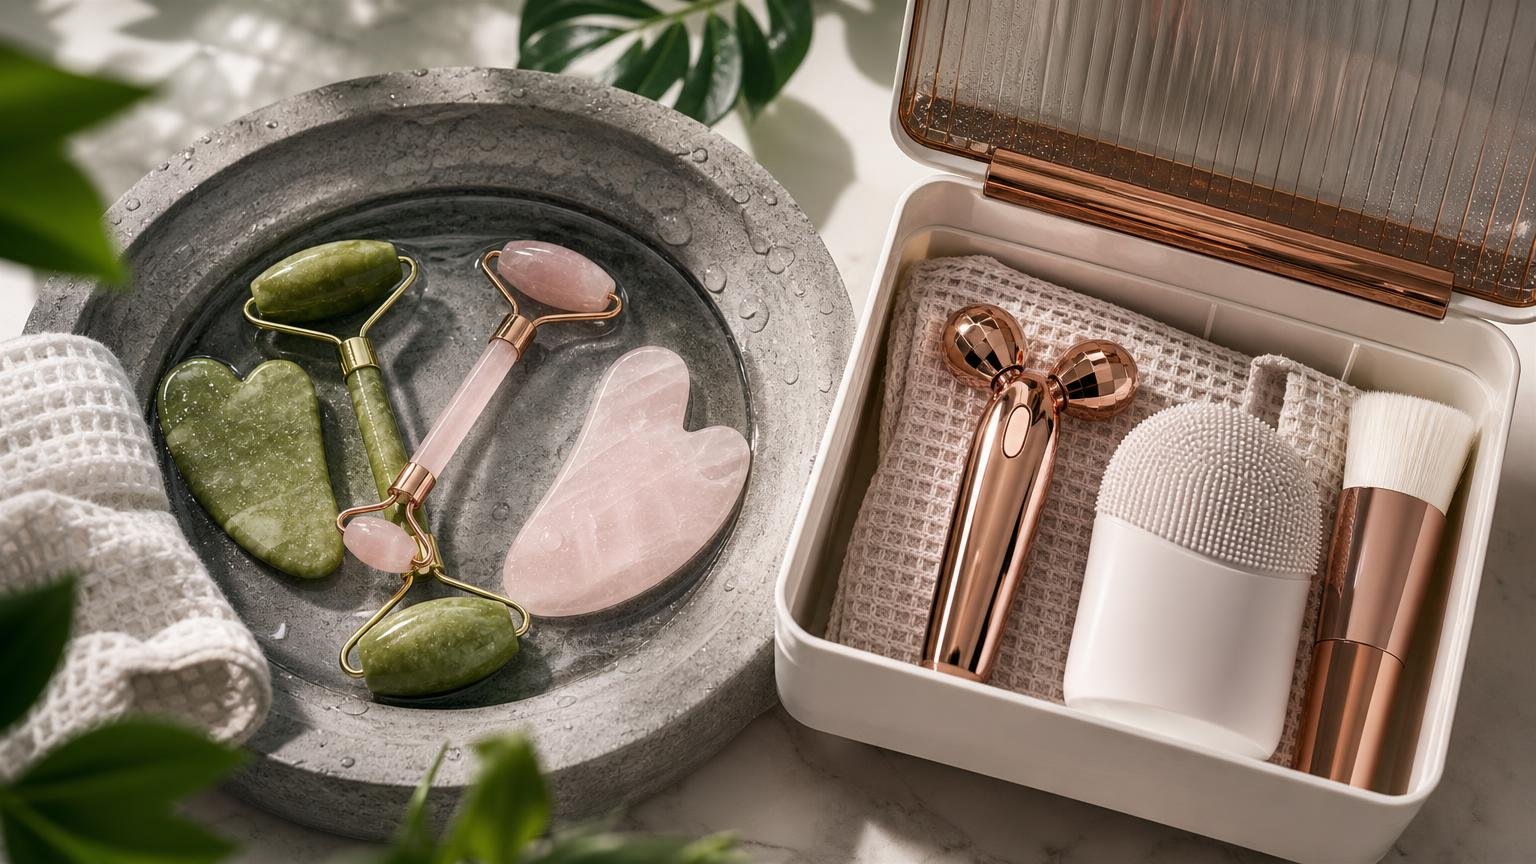
Wash it after every use with mild soap and lukewarm water, dry it completely, and store it where air can reach it.
That covers almost every facial tool: gua sha, rollers, cleansing brushes and spatulas. A tool can look clean and still hold a thin film of oil, serum and water along its edges and joints, and that film goes back on your face next time.
How to clean facial tools comes down to three jobs: remove the residue, dry completely, store with airflow. Save 70% isopropyl alcohol for bare stainless steel and glass. Never soak anything with a seam, glued joint or battery, and never put a tool in a closed case while it’s damp.
- Wash your hands before you handle a clean tool.
- Check seams, roller ends and charging ports for trapped residue.
- Replace anything cracked, chipped, rusted or tacky.
Match the method to the tool
For almost every facial tool the method is the same: mild soap, lukewarm water, a quick rinse and complete drying. What changes is how much water the tool can take, and that depends on the material and how it's put together.
Start with the contact surface
- Stainless steel and glass: Soap and water, plus 70% isopropyl alcohol if you want to sanitize. Skip scouring pads; scratches hold residue.
- Silicone: Soap and water. Skip strong solvents, which can make silicone tacky over time.
- Jade, rose quartz and other stone: A quick wash with mild soap and lukewarm water. No soaking, bleach, acids or hot water.
- Wood and unsealed ceramic: A damp, soapy cloth, then dry right away. These absorb water and can't be fully sanitized.
Inspect how it is assembled
A washable surface doesn't make the whole tool waterproof. Water gets into seams, glued joints, roller axles, hollow handles and charging ports, where it loosens glue, rusts metal and damages electronics.
For rollers and anything hinged, clean around the moving parts with a damp cloth or soft brush instead of running them under the tap. Switch off and unplug powered devices before you start.
Throw out a tool with a widening crack, rust, loose parts or a smell that survives washing. No cleaner fixes a damaged surface.
Wash a gua sha in under a minute
-
Wipe it right after use
Take off leftover oil or serum with a tissue or soft cloth before it dries on the edges.
-
Wash with mild soap
Under lukewarm water, lather a drop of mild soap or gentle face cleanser over both sides and every edge with your fingertips.
-
Rinse briefly
A few seconds is enough. Avoid hot water on stone; sudden heat can crack it.
-
Dry and inspect
Pat it dry with a clean towel and run a finger along each edge. A chip or rough spot means it’s time to replace it.
-
Store it on its own
Let it air-dry fully, then put it in its pouch or a clean drawer, away from other tools so stone doesn’t chip.
A one-piece steel, jade or quartz gua sha can go under the tap. Wood, resin with metal trim, or anything glued gets a damp, soapy cloth instead.
Soaking doesn’t clean a gua sha any better than a quick wash. Water works into natural fissures in jade and quartz, clouds resin, and loosens glued trim. Hot water and sudden temperature swings can crack stone.
Clean rollers without flooding the joint
Rollers collect product at both ends of the head and where the axle enters the frame. Holding the whole tool under a running tap pushes water into that joint, where it dries slowly and can rust the axle or loosen the stone. Clean the head thoroughly; keep the joint mostly dry.
Here's the routine:
- Put a drop of mild soap on a damp cloth, not on the tool.
- Roll the head slowly while you wipe so you clean the whole surface and both ends.
- Run a barely damp cotton swab around the frame where the axle goes in.
- Wipe off the soap with a second damp cloth and towel-dry right away.
- Leave it on its side in open air until the joint is fully dry.
To sanitize a stainless steel roller, wipe it with 70% isopropyl alcohol after washing and let it air-dry. Skip alcohol on plated, painted or resin parts, where it can cloud or strip the finish.
The stone or steel head can take water, but the metal frame, axle and handle joint usually can’t take soaking or the dishwasher. Rinse the head briefly and keep the joint mostly dry.
Brushes need the most drying time
Brushes: clean through the bundle
Bristles hold oil, makeup and water deep in the bundle. Work a drop of mild soap or gentle cleanser into the bristles under lukewarm water and keep going until the water runs clear. Keep water away from the base where the bristles meet the handle, since soaking loosens the glue.
Squeeze the water out with a clean towel; don't twist. Reshape the bristles and dry the brush on its side or head-down so water drains away from the base. Don't cap it or zip it into a bag until it's dry all the way through.
Silicone, metal, and spatulas
Stainless steel, rigid plastic and solid silicone hold far less residue than bristles. Wash them with soap and lukewarm water, rub the seams and textured areas with your fingertips, rinse, and dry fully before storing.
A spatula keeps fingers out of your jars only if the spatula itself is clean. Wash it with soap and water after each use and dry it before the next scoop. It won't rescue a product that has changed smell, color or texture; throw that out.
Powered devices: wash the head, wipe the body
Powered brushes and massagers need more care than a solid tool because water can reach the motor and battery. The head is usually washable. The body usually isn't meant to be soaked. Treat them as two separate jobs.
Before you clean a powered device:
- Switch it off and unplug the charger.
- Remove the head, cap or guard.
- Keep the charging port and any vents dry.
- Check the waterproof rating before you rinse the body under a tap.
Pull off the head and wash it on its own with mild soap and lukewarm water, working the lather into the base of the bristles. Wipe the handle with a damp, soapy cloth, then a clean damp cloth. Let both dry completely before you reattach the head or charge the device. Keep alcohol, bleach and essential-oil cleaners away from seals and contacts.
Replace a bristle head when the bristles splay, discolor or smell, and at least as often as the maker's schedule; about every three months is typical. One-piece silicone brushes have no head to replace, so wash them and retire them when the silicone tears or turns tacky. Stop using any device with a swollen case, corroded contacts or a frayed cable.
Splash-proof and shower-proof devices handle water during use, not a soak in the sink. Only a device rated IPX7 or higher is built to survive full immersion, and even then the charging port should be dry before you plug it in.
Soap does most of the work
A thin film of oil and serum can sit on a tool that looks spotless, especially along edges and roller ends.
Clear products dry clear. Run a finger along the edge: if it feels tacky or slick, wash it again.
For a tool only you use, mild soap, water and a little rubbing remove the oil and product film that germs live in.
Alcohol and harsh cleaners add wear to finishes, glue and silicone without adding much for a personal tool.
Alcohol from a quick wipe evaporates in seconds and can cloud resin and plated finishes. UV light only reaches the surfaces it shines on directly.
Neither gets into seams, roller ends or bristle bases, which is where residue collects. Wash first, and treat alcohol as an extra step for bare steel or glass.
If someone else uses your tool, wash it with soap and water first, then wipe bare stainless steel or glass with 70% isopropyl alcohol and let it air-dry. Stone, cracked tools and brush heads are hard to sanitize, so keep those to one person.
Dry, check, then store
-
Towel off the surface
Blot with a clean, lint-free towel. Spin rollers and pull off removable heads so water doesn’t sit around axles and sockets.
-
Air-dry completely
Lay the parts on a clean towel in open air. Brush heads can need several hours. Don’t cap, zip or reassemble anything damp.
-
Check the wear points
Look for chips, cracks, rust, a wobbly roller, peeling finish and frayed or flattened bristles. On powered tools, check the charging port and the seal around the head.
-
Retire damaged tools
A chip or crack holds residue and can scratch your skin. Replace the tool rather than trying to clean around the damage.
-
Store away from the sink
Use a ventilated pouch, open stand or dry drawer. Keep tools apart so stone doesn’t chip against metal, and keep them off a wet counter.
Chilling a roller or gua sha makes it feel cooler on puffy skin, but it does nothing for hygiene. If you keep a tool in the fridge, wash and dry it first and put it in a clean bag so it isn’t sitting next to food.
- Same day Wash off product the day you use the tool. Dried serum and oil are harder to remove and collect in seams.
- Dry fully Let every part air-dry, joints included, before it goes into a case.
- Store with air A ventilated pouch, open stand or dry drawer beats a sealed box or a wet bathroom counter.
Replace a tool that has a crack, chip, rust spot, peeling coating, wobbly roller or a smell that survives washing. Residue and water sit in those flaws where soap can’t reach. On a powered device, a swollen case, corroded charging contacts or a frayed cable means stop using it.
Storage matters for formulas too. How to store skincare products covers which actives break down, and how to use a gua sha covers the technique side of tool care.
The routine in three lines
- After every use: wipe off leftover product, wash with mild soap and lukewarm water, rinse.
- Let it air-dry completely before it goes into a pouch or case.
- Replace it when it cracks, chips, rusts, smells, or the brush head frays.
How to clean facial tools comes down to one habit: wash off the product the same day you use the tool, then let it dry fully before you put it away. Mild soap and water handle almost everything. Save 70% isopropyl alcohol for bare stainless steel or glass, and never soak anything with a seam, a glued joint or a battery.
Store tools dry, apart from each other, somewhere that gets air. Skip the tool entirely on broken, sunburned or flaring skin.
